
This one shows the same piece of leather with the main pieces cut out. What I am using to cut the leather with is called a strap cutter. It is so named because that is what it does. It cuts straps. There is a razor that cuts the leather on the adjustable arm. and the handle just makes it so you can pull the whole thing. It has measurements on it so you know exactly how wide you are cutting the leather. The reason I use this tool is because it allows me to keep a uniformity in the width of the leather.

Here Mike is modeling the pieces for us! The two shorter thicker pieces are going to be cut to size that drape from the shoulder down to the waist. The longer skinnier piece is the belt that wraps around the waist. Mike is just holding the pieces in place so I can take some measurements. After the measurements are taken we can move on to the next step of cutting them out and getting the holes punched. These are just straps and we aren't sure of the exact lengths we need for it to be finished yet.

Here they are with the holes punched and a few other pieces that were taken from left over scraps. We determined that with what we wanted to do and available materials we would need these couple extra pieces to turn out what would become the finished product. The loop would be in essence a big belt loop. We would affix two D-rings for the waist belt and the excess would need to loop back into something. The two diamond shaped pieces would be lashed to the shoulder straps down where the belt would be so that the belt could go through them and secure the whole thing together. The idea is that basically everything could be tied together to make it more multipurpose and change for a different wearer or purpose. and the long arrow looking piece would be the shoulder cap. We would rivet the two shoulder pieces together at that point.
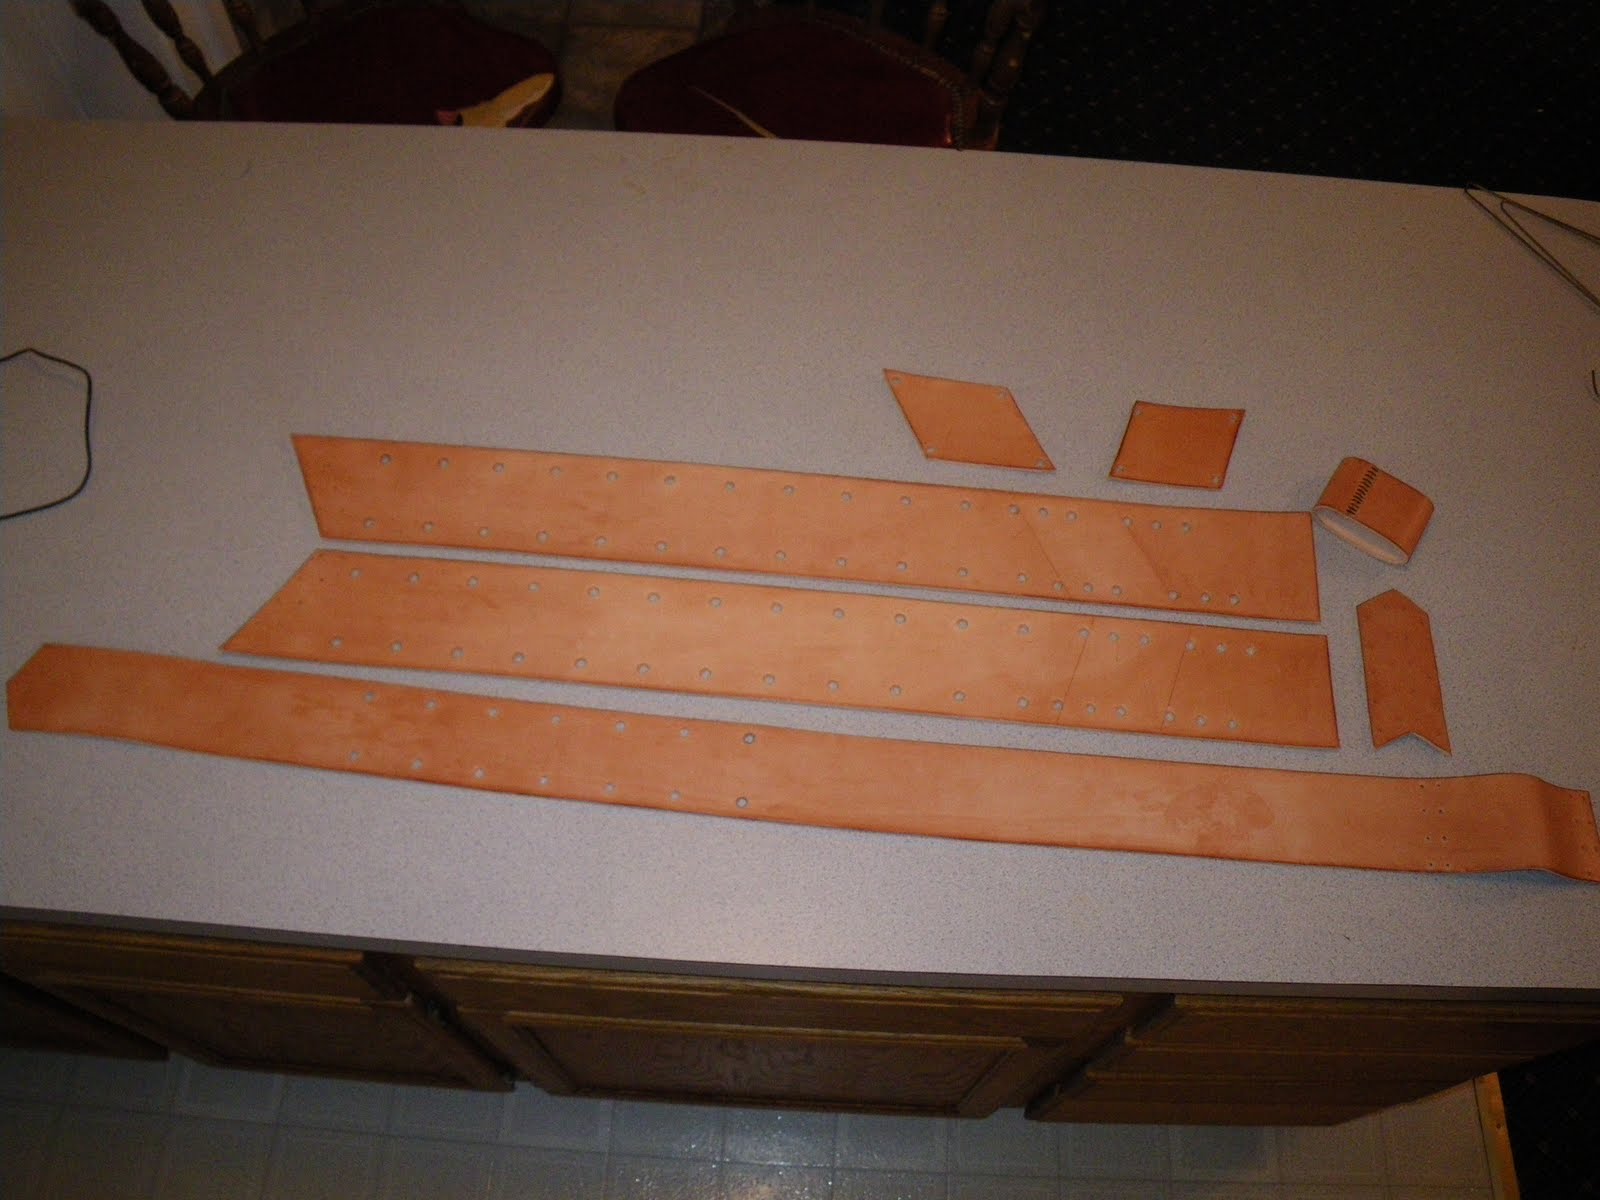
The holes up and down the baldric would allow for different items to be attached. Utility items or patches symbolizing conquered enemies or great achievements. It takes some planning and also some practice pieces to figure out what you want. Mike, David and I all talked and planned and schemed over how to do everything just right to maximize use as well as make a visually impressive item. We found that the more simple design with a few fancy additions was the key to get what we wanted.

It takes some space and some work to turn out a piece like this. Here are just some of the tools needed to turn out something like Mike's baldric. One of the utility items he used was a knife. To keep with the patches on the baldric this sheath was built for the dagger so it would all match. The larger mallet was to set the eyelets and the smaller one was used to pound in the designs on the leather. There are a few cutting tools and shaping tools and the pounding pad and sturdy rock foundation. Since the sheath was going to be sewn together you can also see another sewn sheath to just see how it's been done before. Learn from the past and improve the future!

=D
No comments:
Post a Comment